


A video of microneedling is most useful when it creates a consistent record, not when it captures every moment of treatment. Short, clearly labeled clips can help you document your starting point, describe recovery to your clinician and compare your skin over time.
You do not need close-up footage of needles moving across your face. Before-and-after recordings often provide a more practical treatment log without adding distractions. The aim is to capture comparable views, attach useful notes and keep the camera separate from treatment decisions.
Keep the camera out of the treatment workflow
Recording should never change how treatment is performed. Do not extend a session, repeat an area or change settings to get better footage. If a clinician is treating you, ask permission before filming and let them decide whether recording would interfere with care.
Set up the phone before treatment begins. Keep the phone, tripod and cables away from the treatment workspace. If the camera moves or stops recording, accept the missing footage rather than reaching for it during treatment.
This guide covers documentation, not treatment technique or suitability. The FDA’s information on microneedling devices explains that it has not authorized microneedling medical devices for over-the-counter sale. It also states that microneedling devices have not been cleared for use with another product, such as cosmetics, creams or gels.
A useful video of microneedling can consist entirely of clips taken before treatment and during recovery. If you are uncertain whether treatment is appropriate, review the factors affecting who is suitable for microneedling with a qualified healthcare professional before planning a recording.
Make each clip visually comparable
Consistency matters more than camera quality. A recent smartphone on a stable support is usually enough for a personal visual record. The problem is changing the conditions between recordings, which can make skin look smoother, redder or more textured without any real change.
Choose one indoor location with a neutral background. A fixed, diffuse light source is easier to reproduce than direct sunlight. Avoid mixing a bright window on one side with a warm lamp on the other. Mark the chair and tripod positions so you can return to them.
When you record a video of microneedling for comparison, use the same camera, lens, distance and lighting whenever possible. Avoid switching between the front and rear cameras, since their processing and perspective can differ.
Turn off beauty filters, portrait effects and skin-smoothing settings. If your camera app permits it, keep exposure and white balance consistent. Otherwise, check that the brightness is similar before recording. Do not adjust the image afterward to make redness or texture more visible.
Start facing forward with a relaxed expression, then turn slowly to show each side. Keep your hair away from the area being documented without pulling the skin tight. Capture the whole treatment area first; an extreme close-up without a wider reference is difficult to compare later.
Use a short before-and-after recording schedule
Create a schedule you can repeat rather than filming constantly. A brief baseline, an immediate post-treatment clip when appropriate and matched recovery recordings can provide a useful sequence. Follow your clinician’s advice about when it is appropriate to handle or uncover the treated area.
The following is a documentation framework, not a prediction of how your skin should heal:
| Recording point | What to capture | What to note |
|---|---|---|
| Before treatment | Front and side views in your standard setup | Existing redness, marks, irritation and any products on the skin |
| After treatment, if appropriate | The same views without touching or stretching the skin | Time since treatment and anything applied afterward |
| Around 24 and 48 hours | Matched views under the same light | Changes in appearance, discomfort and clinician advice received |
| Later follow-up | The same framing at an agreed review point | Whether symptoms resolved and any changes to your routine |
Label each video of microneedling with the actual date and time, not simply “day two.” A clip taken the next morning may be much less than 24 hours after an evening appointment.
Keep each recording only as long as needed to show the area clearly. Avoid repeatedly touching your face to point out a change. Describe the location aloud or add it to your written notes instead. If symptoms concern you, contact your clinician rather than waiting for the next scheduled recording.
What to log beside your video of microneedling
Footage shows appearance, but it cannot reliably capture tenderness, heat, itching or the circumstances of treatment. Pair each clip with a short written entry so that it remains useful months later.
Record these details when they are available:
- Session details: Date, treatment area, clinician or clinic and the exact device model.
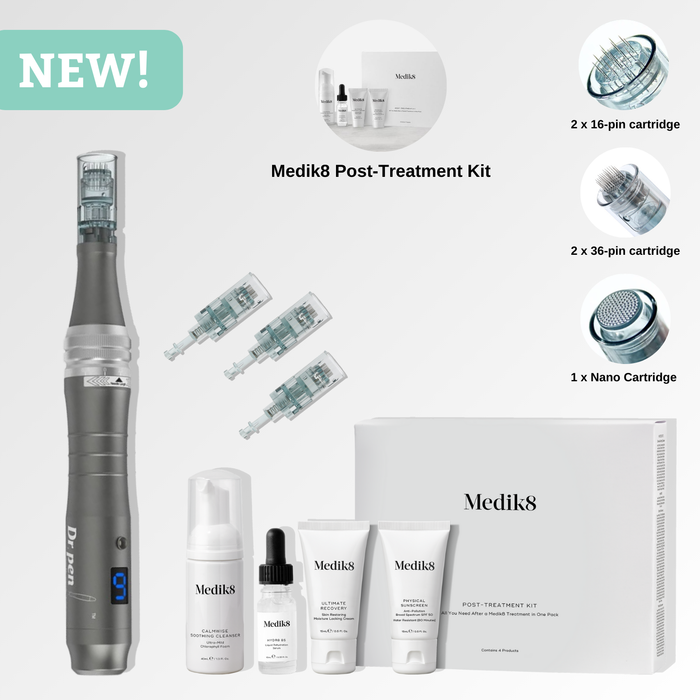
- Device and cartridge information: Cartridge type, product identifier and lot information if available, with settings documented by the treating professional rather than guessed from footage.
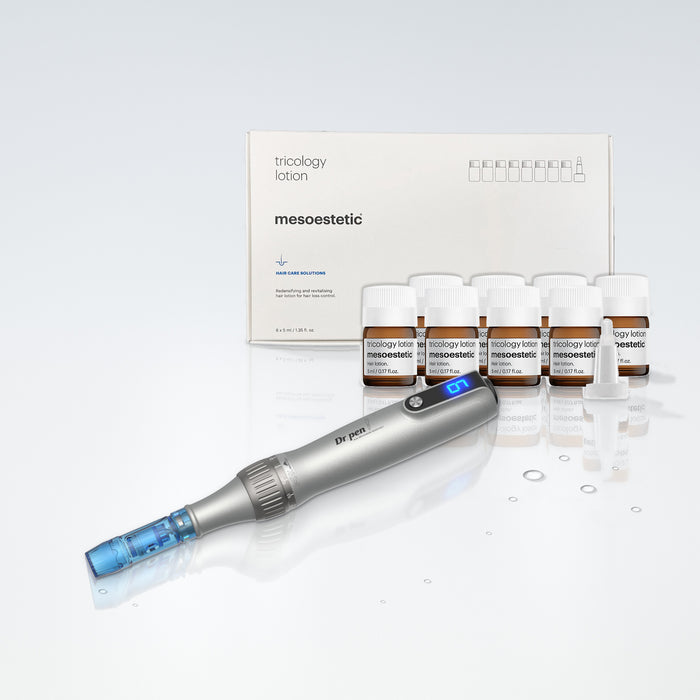
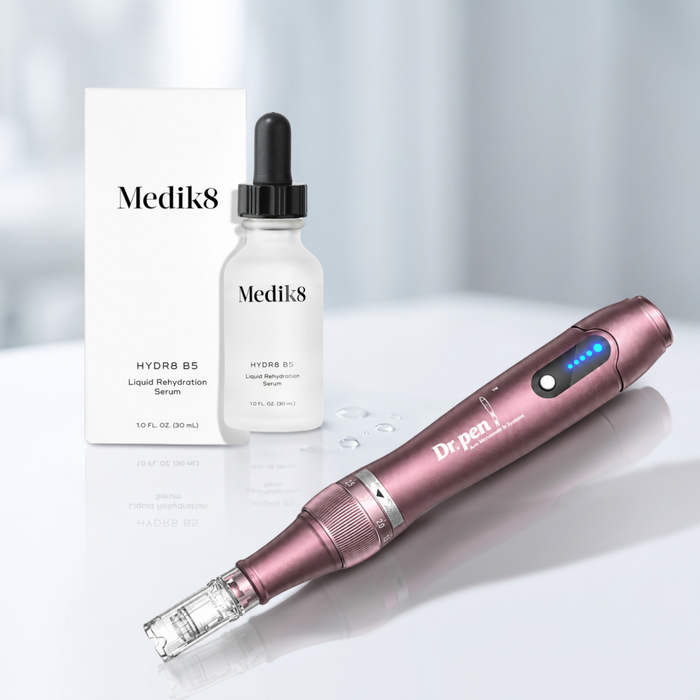
- Products used: Names of cleansers, topical anesthetics if applicable, treatment products and aftercare products, including when they were applied.
- Recovery observations: Symptoms, when they began, whether they are improving and any advice or treatment received.
- File reference: The corresponding clip name and elapsed time since treatment.
For a session involving the Dr. Pen HydraPen H3, record that specific model rather than writing only “Dr. Pen” or “hydra pen.” Its serum-delivery design makes documenting any product used especially relevant. That feature does not establish that a particular serum is safe for use with microneedling; follow applicable device labeling and professional guidance.
A simple file name such as 2026-10-29_baseline_front is easier to sort than final_video_2. Keep the original file and make a separate copy if you need to trim or annotate it. Clearly distinguish observations you made yourself from information supplied by your clinician.

Review healing without mistaking it for results
Compare clips from equivalent stages. An immediate post-treatment recording and a later baseline do not show the same skin state. Temporary swelling, redness, surface dryness and products on the skin can alter how lines and texture appear.
Use your log to describe changes rather than diagnose them. “Redness looks more noticeable on the left cheek under the same light” is more useful than “this side is infected.” Add symptoms that the camera cannot show, including increasing pain or tenderness.
Seek medical advice for worsening symptoms rather than relying on footage. Increasing pain, spreading redness, warmth, pus, fever, blistering or unexpected skin-color changes warrant prompt clinical assessment. A recording can support that conversation, but it cannot rule out a complication.
For longer-term comparisons, use the review timing recommended by your treating professional. A single clip cannot measure collagen production or establish that a treatment caused a change.
You can also note changes in skincare, sun exposure or your broader routine. If you use fitness and nutrition resources for a separate wellness diary, keep those entries as background context. They are not proof that a particular habit improved or worsened your treatment outcome.
Store private footage and share only what helps
Treat every video of microneedling as sensitive personal information. Your face, voice, appointment details and home surroundings may identify you even if the filename contains no name.
Before recording, remove visible paperwork, address labels and other people from the frame. Check whether your phone saves location data and whether clips automatically upload to a shared cloud library. Use a device passcode and review who can access any shared folders.
When sending footage to a clinic, ask which secure channel it prefers. Share the relevant clip with its date, elapsed recovery time and a concise symptom description. Avoid sending an edited montage when the original sequence would be more informative.
Keep private documentation separate from anything intended for social media. Obtain permission before recording staff or anyone else, and do not assume that permission to film also allows public posting. Avoid adding music or edits that obscure spoken observations in the copy you share for clinical review.
Frequently asked questions
Do I need to film the actual needling? No. Consistent before-and-after clips can document appearance without introducing a phone into the treatment workflow. Record during treatment only if the treating professional permits it and filming does not affect care.
What should my face look like two days after microneedling? There is no single appearance that applies to everyone. Redness, dryness or swelling may still be present, depending on the treatment and your skin. Compare with your baseline, record symptoms and follow your clinician’s recovery guidance. Worsening symptoms need assessment, not comparison with strangers’ footage.
Can a video of microneedling show whether treatment worked? It can document visible changes under matched conditions, but it cannot prove collagen production or separate treatment effects from lighting, swelling, skincare and other influences. Clinical review and appropriately timed comparisons provide more context.
Should I copy the settings shown in someone else’s recording? No. Another person’s device, treatment area and clinical circumstances may differ from yours. Our guide to evaluating Dr. Pen microneedling videos before use explains why footage should not replace model-specific instructions or professional advice.
Prepare your next treatment-log entry
Before making your next video of microneedling, save a blank log entry, mark your camera position and confirm any recording arrangements with your clinician. If you need help identifying a device or cartridge, contact Dr. Pen Store with the exact model name before purchasing. A clearly identified product and a consistent recording setup make the record easier to interpret without turning filming into part of the procedure.